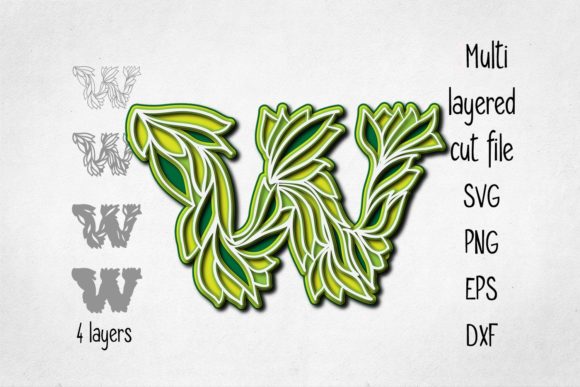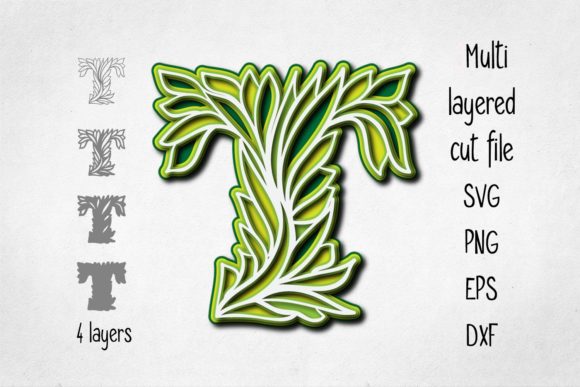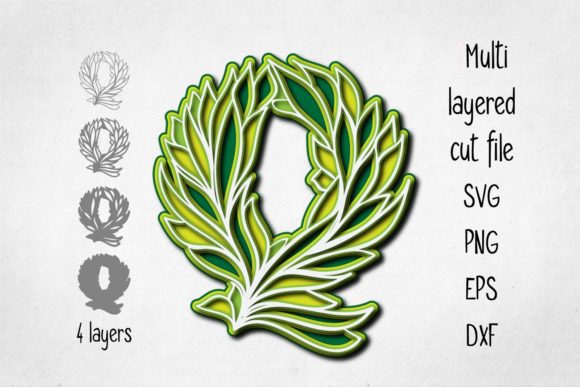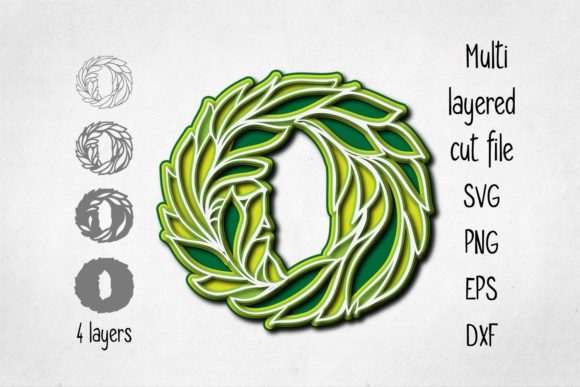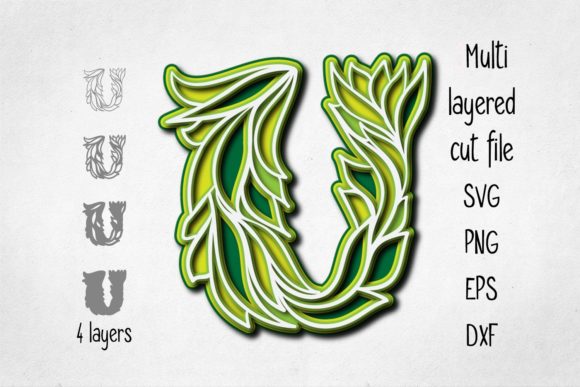
3D Layered Alphabet Letter U
At first glance, the letter U might seem like a simple curve. But when reimagined as a 3D layered structure, it becomes something far more compelling—a design element that plays with depth, shadow, and form in ways a flat letter never could. A 3D layered alphabet letter U is exactly what it sounds like: the letter U constructed from multiple stacked layers, each slightly offset or differently shaped, to create a sculptural, three-dimensional appearance. Whether cut from paper, wood, acrylic, or rendered digitally, this technique transforms a basic character into a tactile visual statement.
What makes the 3D layered approach so interesting is how it leverages one of the most fundamental design principles—depth—to add intrigue. The U shape itself is open and welcoming, with its rounded bottom and parallel stems. Adding layers amplifies that sense of openness, turning a flat outline into something that feels almost architectural. For anyone working in design, marketing, education, or hands-on crafts, this single letter opens up a surprising range of creative and practical opportunities.
The Anatomy of a 3D Layered Letter U
Understanding how the layers work is the first step to using them well. A typical 3D layered alphabet letter U consists of two to five or more individual pieces, each representing a slice of the letter at a different depth. The bottom layer is usually the full outline of the U, while the upper layers shrink slightly or alter the internal cutouts to simulate perspective or recession. Think of it like contour lines on a topographic map—each layer corresponds to a different elevation.
This structure creates a natural shadow effect. When light hits the edges, each layer casts a shadow onto the one below it, emphasizing the separation. The result is a letter that appears to pop off the surface. Some designs keep all layers the same shape but shift them diagonally for a beveled look. Others vary the internal geometry, so the U becomes narrower or wider as the layers stack. The choice depends on the style you want—clean and geometric versus organic and handcrafted.
For digital designers, this layered effect can be simulated with gradients, drop shadows, or extrude tools. For physical makers, it means cutting each layer from materials like cardstock, basswood, acrylic sheet, or foam board and assembling them with spacers or adhesive foam squares. The material choice dramatically changes the final feel: paper feels delicate and intricate, wood feels warm and substantial, acrylic feels modern and glossy.
Creative Applications Across Different Fields
The beauty of a 3D layered alphabet letter U is that it fits naturally into many contexts. Here are several ways different users can put it to work.
- Home decor and wall art—A large 3D letter U makes a stunning monogram for a living room, nursery, or entryway. Painted in a single color, it becomes a subtle sculptural accent. Painted with gradient colors across the layers, it turns into a vibrant focal point. Depending on the room style, the same letter U can feel Scandinavian minimal, rustic farmhouse, or bold contemporary.
- Branding and logo design—For businesses whose names begin with U, a layered 3D version of the letter can serve as a memorable logo mark. Tech companies, creative studios, and lifestyle brands often use dimensional typography to convey innovation, depth, or approachability. The layered look suggests structure and craftsmanship, which can communicate attention to detail.
- Educational tools—Teachers and homeschoolers can use a 3D layered U to help young children learn the alphabet. The tactile, hands-on nature of a layered letter makes it easier for kids to remember the shape. Tracing fingers across the different layers reinforces muscle memory. And because the U is open and simple, it is one of the easiest letters to start with for a classroom project.
- Event signage and displays—Weddings, conferences, and pop-up shops often feature oversized letters for photo backdrops or directional signs. A 3D layered U can anchor a hashtag display, frame a welcome sign, or serve as a standalone prop. Because the layers add visual weight, the letter reads well from a distance and looks impressive in photos.
- Digital content and social media—Content creators and bloggers can use a 3D layered U as a logo animation intro, a channel icon, or a watermark. The depth effect translates beautifully into short video loops or static images for Instagram and Pinterest. It catches the eye in a crowded feed without needing complex graphics.
Design Approaches and Material Choices
How you approach the design of a 3D layered alphabet letter U depends on your tools and your goal. For those working digitally, software like Adobe Illustrator, Affinity Designer, or even Canva allows you to create layered effects using offset paths, gradients, and shadow layers. You can export the result as a vector file for printing or as a PNG for web use. The advantage of digital is speed and repeatability—you can adjust colors, spacing, and layer count in minutes.
For physical makers, the process is more hands-on but equally rewarding. Laser cutters and Cricut or Silhouette machines can cut precise layers from various materials. If you are cutting by hand, a craft knife and a steady hand work well for cardstock or thin foam. The key is consistency: each layer must align perfectly with the ones below it. Using a template with registration marks helps. Alternatively, you can design each layer in a vector program, cut them out, and stack them using foam adhesive dots or glue.
Material choice matters for durability and appearance. Cardstock is affordable and easy to cut, but it bends over time. Chipboard or kraft board is sturdier and still easy to cut. Acrylic sheets give a polished, professional look, especially when backlit. Wood layers, whether plywood or basswood, add natural texture and can be stained, painted, or left raw. For outdoor use, marine-grade plywood or sealed PVC foam board holds up best.
Tips for Keeping Results Clear and Effective
A 3D layered alphabet letter U can quickly become muddy if the layers are too similar. To keep the design crisp, follow a few simple guidelines.
- Space layers deliberately. Whether you are stacking physically or layering digitally, give each layer enough separation. A distance of one to three millimeters between physical layers creates visible depth without making the letter too thick. In digital designs, use drop shadows or offset layers with enough pixel distance to read clearly.
- Use contrasting colors or tones. Lighter layers on top and darker layers below reinforce the illusion of depth. Alternatively, a single color with varying shades—like a gradient from dark bottom to light top—works beautifully. Avoid using similar hues across layers, as they will blend together visually.
- Simplify the silhouette. The letter U is already simple. Resist the urge to add intricate cutouts inside each layer unless the design specifically calls for it. Complicated internal shapes can make the layers hard to distinguish. If you want ornamentation, keep it on the outermost layer only.
- Test the scale. A small 3D letter U might lose its layered effect if viewed from a distance. For wall art or signage, make each layer at least half an inch wide in the direction of depth. For social media graphics, ensure the shadow or depth is visible even on mobile screens.
- Consider the viewing angle. Physical layered letters look best when mounted on a wall or displayed at eye level. If the letter will be seen from above, like on a tabletop, adjust the layer depth so the shadows fall naturally under typical lighting.
Adapting for Different Audiences and Platforms
How you present a 3D layered alphabet letter U should shift depending on who you are designing for and where it will appear. A children's educational app needs bright colors, rounded edges, and chunky layers that are easy to recognize. A corporate branding project, on the other hand, calls for precise geometry, muted tones, and subtle depth that suggests reliability rather than playfulness.
For social media, the layered U can become part of a series. Post a time-lapse video of the assembly process, share a flat-lay photo of the layers before stacking, or create a carousel post explaining how the effect works. Each format appeals to a different segment of your audience: makers love seeing the process, designers appreciate the technical breakdown, and general followers enjoy the visual payoff.
Entrepreneurs and small business owners can use the layered U as a signature element across multiple touchpoints. Use it on your website header, your product packaging, your business cards, and your email signature. The consistency builds brand recall, and the dimensional look signals that you pay attention to detail. For a freelancer or creative professional, a 3D layered U in your portfolio header immediately communicates that you work with form, depth, and typography—a powerful first impression.
Practical Project Ideas to Get Started
If you want to try creating your own 3D layered alphabet letter U, here are a few project ideas that match different skill levels and goals.
- DIY wall monogram for a nursery: Cut three layers from cardstock in pastel shades. Mount them on a foam core backing with foam squares. Add a simple frame for a polished look. This project takes about two hours and costs very little.
- Laser-cut business logo sign: Design three layers in a vector program, cut them from 3mm plywood, stain each layer a slightly different wood tone, and glue them together. Mount on a wooden plaque for a reception desk or home office.
- Digital Instagram highlight icon: Create a layered U in your design software using the offset path tool. Add a subtle gradient and a soft shadow. Export as a square PNG and upload it as a highlight cover for your story.
- Classroom alphabet set: Make a complete set of 3D layered letters from A to Z using chipboard. Use the same layer design for each letter so the set looks cohesive. Children can trace the layers with their fingers and learn letter shapes through touch.
- Event photo backdrop prop: Build a large-scale 3D layered U from foam board or corrugated plastic. Paint it in the event's brand colors. Place it at the entrance or photo booth area for guests to pose with.
Keeping Originality and Consistency Across Projects
One risk with the layered approach is that every letter can start to look the same. To keep your work original, experiment with layer geometry. Instead of simple offset layers, try growing the U from a thin base to a wide top, or add negative space cutouts that only appear on certain layers. Change the angle of the offset—slant the layers diagonally instead of straight back. Add a decorative element like a vine or geometric pattern on the top layer only.
Consistency matters when creating a series, such as a full alphabet or a set of monograms. Establish the layer count, offset distance, and material or color palette at the start. Stick to those rules for every letter in the set. If you vary the rules, do it intentionally: for example, make the first letter more ornate and the following letters simpler, or use the same structure but change the color per letter to match different brand identities.
A 3D layered alphabet letter U is not just a craft project or a graphic effect. It is a design tool that bridges physical and digital spaces, appeals to both children and professionals, and can be as understated or as bold as you need it to be. Whether you are building a brand, decorating a room, teaching a child, or creating content that stands out, the layered U offers depth in every sense of the word. Start with one letter, experiment with layers, and see where the dimensional approach takes your next project.