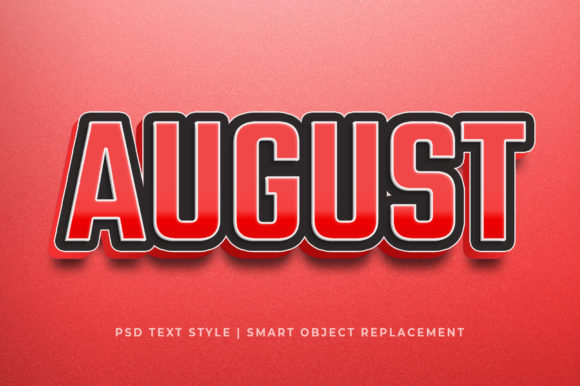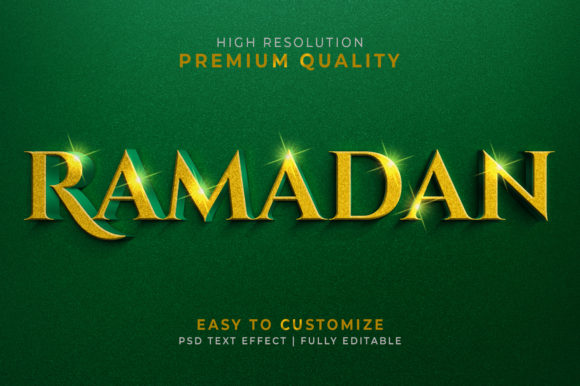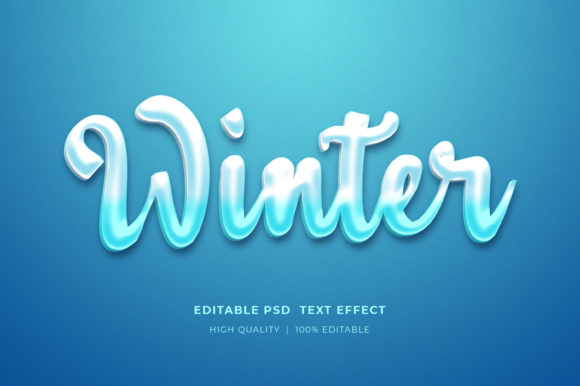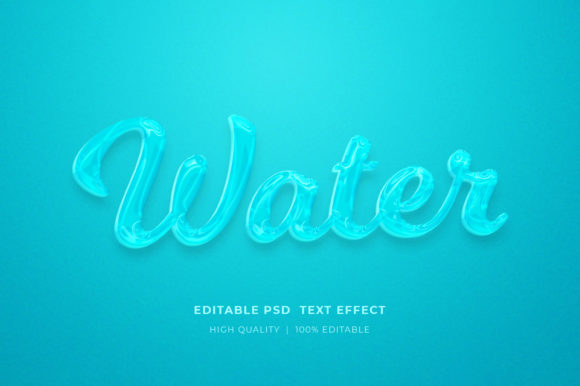
Get the Best Results from a Light 3D Text Style Effect PSD
If you’ve ever struggled to create eye-catching 3D text that feels light and vibrant, a Light 3D Text Style Effect PSD can be a real time-saver. These layered files come with preset layer styles, blending options, and lighting effects that mimic a soft, illuminated three-dimensional look. They’re popular among designers, marketers, and small business owners who want polished typography without spending hours manually building depth and shading. But getting the most out of these files requires more than just downloading and applying. Many users run into avoidable issues that lead to disappointing results, wasted time, or even unusable outputs.
This guide walks you through common mistakes and better approaches so you can make a Light 3D Text Style Effect PSD work effectively for your projects. Whether you’re a beginner or a seasoned creator, understanding what to check and adjust before finalizing your design will save you frustration and help your text stand out for the right reasons.
What Makes a Light 3D Text Style Effect PSD Different
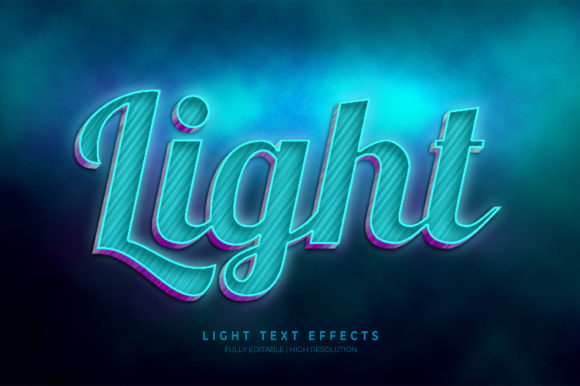
Unlike a standard 3D text effect, a light 3D version emphasizes soft highlights, gentle shadows, and often a subtle glow. The result is text that appears dimensional without feeling heavy or harsh. The PSD file typically contains multiple layer groups—one for the base text, one for bevel and emboss effects, and one for lighting and color overlays. Some files also include smart objects so you can replace the placeholder text without breaking the effect.
This structure is both a strength and a common source of confusion. When users don’t understand how the layers are organized, they might accidentally flatten the file, lose a crucial effect, or apply it in a way that looks flat and artificial.
Mistake #1: Downloading Without Checking File Quality
The first mistake many people make is grabbing any Light 3D Text Style Effect PSD from a free resource site without verifying the file’s quality. Low-quality PSDs often have disorganized layers, missing fonts, broken effects, or non-editable smart objects. Worse, they may contain hidden rasterized layers that limit scalability. When you try to use such a file in a different background or with a different font size, the effect falls apart.
Better approach: Choose PSDs from reputable marketplaces or designers who show clear previews and include documentation. Read reviews or user comments to see if others encountered issues. A well-made PSD will list the required fonts, note any Photoshop version dependencies, and include an organized layer structure. Spending a few extra minutes upfront to vet the file saves hours of troubleshooting later.
If you’re on a budget, look for free files from established sources like design blogs that review and test the assets they share. Remember: even free files should be checked for usability before you invest time in customization.
Mistake #2: Ignoring Font Compatibility
A Light 3D Text Style Effect PSD often comes with a specific font embedded or recommended. However, the effect may rely on font weight, kerning, or character shapes. Using a different typeface—especially one with very different proportions or thickness—can distort the bevel, soften the highlights, or create awkward gaps in the lighting.
Example: Say the PSD was designed for a bold sans-serif font like Montserrat Bold. If you substitute it with a thin script font, the 3D extrusion may become too narrow, the light reflection may not hit the strokes evenly, and the overall effect may look muddy instead of crisp.
What to do: Test your chosen font before committing. Most PSDs use smart objects, so you can double-click the smart object layer, edit the text, and see the updated result. If it doesn’t look right, consider using a font with similar metrics. Many designers also create universal PSDs that work with any font—look for those if you need flexibility. Always keep a backup of the original PSD in case you need to revert.
Mistake #3: Overlooking Lighting Direction and Background Color
The “light” in a Light 3D Text Style Effect comes from carefully placed highlights and shadows. Those effects assume a specific light source direction—often top-left or top-center. If your final design has a background that clashes with that lighting (e.g., a bright red background with a cool blue light effect), the text can look disconnected or lose its three-dimensional feel.
Another common oversight: applying a light-themed 3D effect to a very dark background without adjusting the glow color. The highlights may blend into the background, reducing contrast and readability.
Practical advice: Before you finalize, preview the text effect on your actual background. Use Photoshop’s “Color Overlay” and “Gradient Overlay” adjustments to tweak the light colors if needed. If the PSD includes a “Lighting” group, try rotating or moving that layer to match your scene. Don’t assume the preset lighting works everywhere—small adjustments can make the text feel natural and integrated.
For branding projects, also consider the tone of your message. A soft, warm light effect might suit a friendly blog or a children’s product, while a cool, crisp highlight could be better for a tech company. The PSD gives you a starting point, not a final answer.
Mistake #4: Not Checking Output Medium Requirements
A Light 3D Text Style Effect that looks stunning on a high-resolution monitor may not perform well in other formats. Common problems include effects that rely heavily on layer styles (like bevel and drop shadow) that don’t export cleanly to SVG or print without rasterization. For print, the resolution and color mode (CMYK vs RGB) can also affect how the highlights appear.
Examples of impact: You design a beautiful 3D headline for a social media graphic, but when you export it as a JPEG the transparency is lost, and the glow looks harsh against the background. Or you create a business card in an RGB-only PSD, and the printer shifts the colors, making the light effect look dull.
Better approach: Know your final format from the start. If you’re using the effect for web, export at the correct size and resolution (typically 72–96 PPI) and flatten layers appropriately. For print, work in CMYK and ensure that the PSD’s effects are compatible—some might need to be rasterized. If you’re delivering to a client, provide both editable PSD and a flattened high-resolution version so they have options. Many professional PSDs include notes about recommended output settings; read them.
Mistake #5: Overcomplicating the Effect
It’s tempting to stack multiple layer styles, add extra glows, or duplicate the text layer for more depth. But doing so can quickly turn a clean Light 3D look into a cluttered, overly busy mess. The light effect loses its subtlety, and the text becomes hard to read.
Example: A marketing freelancer once added three different glow layers and a drop shadow to a light 3D text PSD, hoping to make it pop. Instead, the text looked blurry, the light sources conflicted, and the client complained it was “too noisy.” The simple, original effect from the PSD would have been far more effective.
Rule of thumb: Start with the predefined styles in the PSD. Use them as-is or make one or two targeted tweaks (e.g., changing the highlight color or adjusting the bevel depth). Avoid adding new layer effects unless you fully understand how they interact with the existing ones. Most well-designed PSDs already provide a balanced amount of depth and light—trust the designer’s intent first, then experiment cautiously.
Mistake #6: Forgetting to Update Smart Objects Properly
Many Light 3D Text Style Effects use smart objects for the text layer. This is convenient because you edit the text inside a separate canvas, and the effect updates automatically. However, users sometimes save the smart object incorrectly—either flattening it, resizing it without maintaining proportions, or pasting rasterized content into it. The result: broken styles, misaligned 3D extrusion, or missing highlights.
Better practice: When you double-click the smart object thumbnail, Photoshop opens a new window. Edit your text there using the type tool, keeping the original text layer intact. Avoid scaling the entire canvas of the smart object unless the PSD instructions specify a different size. Save (Ctrl+S) and close the window—your main document updates. If you need to change the font, do it inside the smart object, not in the main file. This preserves the layer style relationships.
If the PSD doesn’t use smart objects, you’ll need to edit the text directly and then apply the effect groups. In that case, be extra careful with layer order and grouping.
Mistake #7: Using the Effect in the Wrong Context
A Light 3D Text Style Effect is versatile, but it isn’t appropriate for every project. Some users apply it to large paragraphs of body text, making the page hard to read. Others use it for an entire website header but fail to consider how the light effect interacts with other page elements.
Good use cases: Logos, headlines, product names, social media headers, signage, and video titles. Less suitable: long text blocks, navigation labels, or areas where readability and legibility are critical. Remember that the effect introduces shadows and highlights that can obscure smaller text or complex letterforms.
If you are unsure, test the effect with a small sample of your actual content. Show it to a colleague or target user and ask if the text is easy to read at a glance. Prioritize functionality over aesthetics—a beautiful title that no one can read wastes everyone’s time.
Practical Steps Before You Buy or Download
To avoid these mistakes from the start, evaluate a Light 3D Text Style Effect PSD with these criteria:
- Layer structure: Does the file clearly label groups like “Text”, “Bevel”, “Lighting”, “Shadow”? Can you easily find the smart object?
- Font requirements: Are the fonts free or commercial? Can you substitute easily?
- Editable highlights: Are the light effects linked to separate layers, or are they baked into layer styles? The more adjustable, the better.
- Compatibility: Does the creator state which Photoshop versions are supported? Older CS versions may not render certain effects correctly.
- Preview variety: Has the designer shown the effect on different backgrounds and with different text lengths? If not, imagine potential issues.
Taking these checks seriously can prevent hours of rework. Even if you are an experienced designer, a well-structured PSD respects your time and lets you focus on layout and message rather than fixing broken effects.
Final Thoughts: Use the PSD as a Foundation, Not a Crutch
A Light 3D Text Style Effect PSD is a powerful starting point—it gives you a professional-grade lighting and depth setup in minutes. But the best results come when you adapt it to your specific content and context. Avoid the traps of blindly applying effects, ignoring background interactions, or overcomplicating the design. Instead, treat the PSD as a flexible template that you can tune to fit your brand, message, and audience.
By evaluating the file quality, testing fonts, adjusting lighting, checking output requirements, and respecting the intended simplicity, you’ll consistently produce text that looks clean, engaging, and truly three-dimensional. Whether you’re creating a social media post, a website headline, or a product label, the right approach ensures your Light 3D Text Effect earns attention for the right reasons—clarity, style, and professionalism.